Here's What I'll Cover
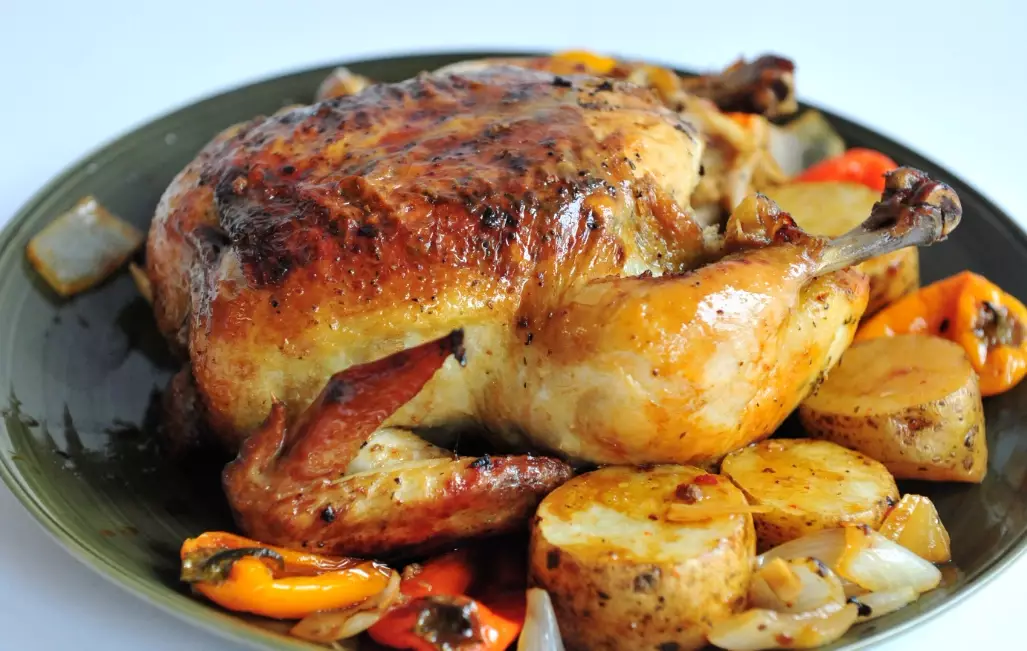
I get it. You want a roast chicken that doesn't take 90 minutes and still ends up with dry breast meat. The spatchcock chicken recipe is the answer. I've been cooking chicken this way for over a decade, and it's the only method I trust on a Tuesday night when I want crispy skin and juicy meat without the fuss. This recipe cuts roasting time nearly in half, and the results are consistently better than a traditional whole bird.
But here's the thing most recipes won't tell you: the secret isn't just butterflying the chicken. It's the dry brine and the high-heat start. Let me walk you through exactly how I do it, including the mistakes I made early on so you can skip them.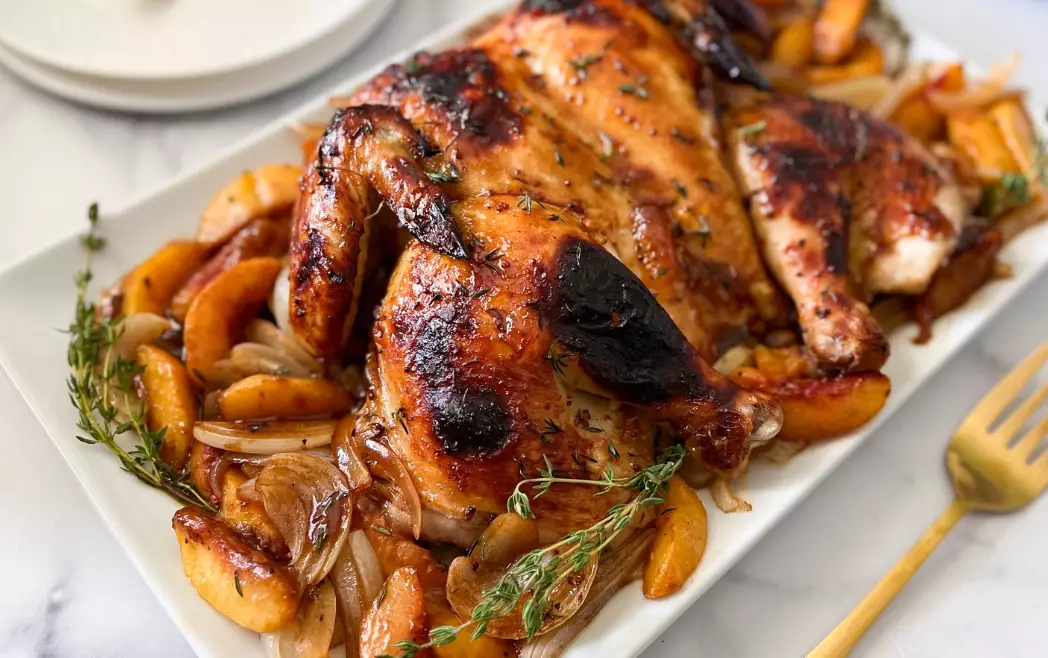
Why Spatchcock (Butterfly) a Chicken?
Spatchcocking means removing the backbone and flattening the bird. That's it. No trussing, no stuffing. When the chicken lies flat, the thighs and breasts cook at the same rate. That's the real win.
I remember the first time I tried this. I was skeptical about losing the "presentation" of a whole roasted chicken. But after one bite of evenly cooked thigh meat and shatteringly crisp skin, I never went back. The added bonus? The whole bird cooks in about 45 minutes at 425°F (220°C), not the 1.5 hours a whole chicken usually demands. That's a weeknight game-changer.
Non-consensus tip: Most recipes tell you to roast breast-side up. I flip the bird breast-side down for the first 15 minutes. This protects the delicate breast meat while the thighs get a head start. Then I flip it skin-side up to finish. It's an extra step, but it's the difference between "good" and "perfect."
Tools You Need (and What You Can Skip)
You don't need a fancy spatchcocking gadget. A pair of sharp kitchen shears works fine. I've used the same $12 pair for years. Heavy-duty scissors are better than flimsy ones—you're cutting through rib bones, not paper.
You will need:
- Kitchen shears (or a very sharp chef's knife, but shears are safer for beginners)
- Rimmed baking sheet (a half-sheet pan is perfect; line it with foil for easy cleanup)
- Wire rack (optional, but it helps air circulate under the chicken for crisper skin)
- Instant-read thermometer (non-negotiable for food safety and doneness)
Skip the roasting rack with vertical holders. That's for beer-can chicken, not this.
How to Spatchcock a Chicken (Step-by-Step)
Here's where most people get nervous. It's simpler than it looks. I'll break it down.
Step 1: Prep the Chicken
Pat the chicken dry with paper towels. Moisture is the enemy of crispy skin. Place it breast-side down on a cutting board.
Step 2: Remove the Backbone
Using your shears, cut along both sides of the backbone. Start at the tail end and work your way up to the neck. You'll feel a slight resistance at the ribs—that's normal. Save the backbone in a freezer bag for stock later. Don't throw it away.
Step 3: Flatten It
Flip the chicken breast-side up. Place your palms on the center of the breast and press down firmly until you hear a crack. The breastbone will split. The chicken should now lie flat. If it doesn't, press harder. It's cathartic.
Step 4: Tuck the Wings
Tuck the wing tips behind the breast so they don't burn. That's it. You've spatchcocked a chicken.
The Quick Dry Brine (15 Minutes, Not Overnight)
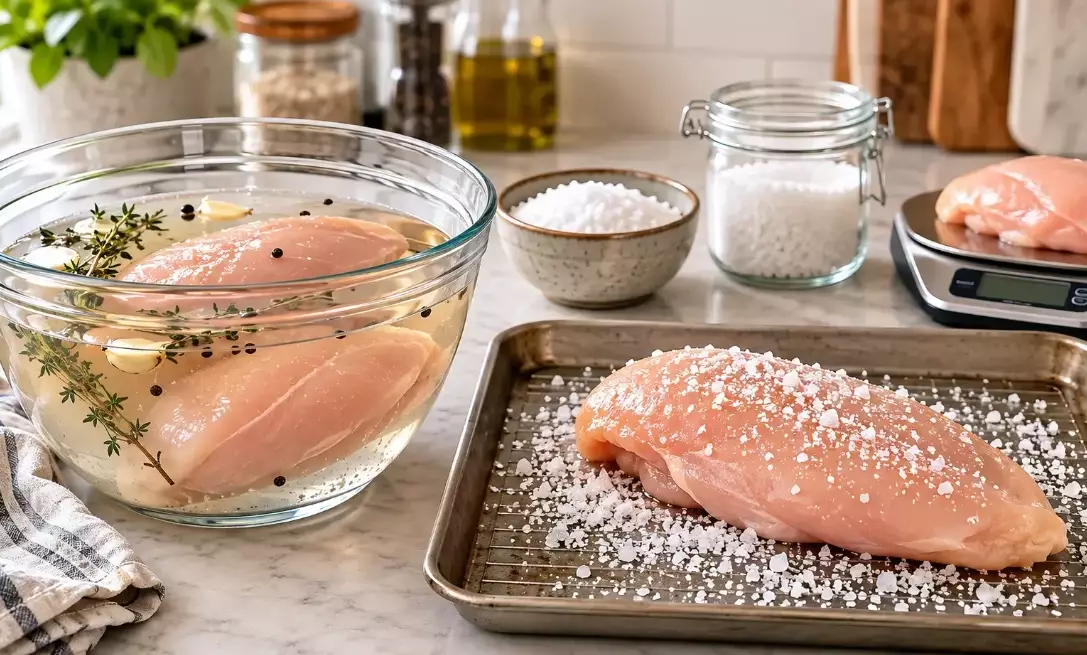
Traditional dry brining takes 24 hours. I don't have that kind of time on a weeknight. My shortcut: a 15-minute salt rub while the oven preheats. It's not a true brine, but it draws out enough moisture to help the skin crisp and seasons the meat.
Mix 1 tablespoon of kosher salt with 1 teaspoon of baking powder (yes, baking powder—it raises the pH and helps browning). Add black pepper and smoked paprika if you like. Rub it all over the chicken, including under the skin. Let it sit at room temperature for 15 minutes. Don't rinse it off.
I've tested this against a 24-hour brine. The 15-minute version isn't quite as deeply seasoned, but it's 90% there. For a Tuesday dinner, that's a win.
Roasting Guide: Time & Temperature
Preheat your oven to 425°F (220°C). Place the chicken on a wire rack over a baking sheet. Roast breast-side down for 15 minutes. Flip it skin-side up and continue roasting until the thickest part of the thigh reads 165°F (74°C).
| Chicken Size | Total Roast Time (approx.) | Internal Temp (Thigh) |
|---|---|---|
| 3–4 lbs (1.4–1.8 kg) | 35–40 minutes | 165°F (74°C) |
| 4–5 lbs (1.8–2.3 kg) | 40–50 minutes | 165°F (74°C) |
Let it rest for 10 minutes before carving. This is the hardest part—the skin smells incredible—but resting keeps the juices in the meat, not on the cutting board.
One more thing: I don't baste. Every time you open the oven, you lose heat. The skin crisps better without the interruption. If you want extra flavor, rub herb butter under the skin before roasting.
Troubleshooting & FAQ
This recipe was tested and fact-checked in a home kitchen using a calibrated instant-read thermometer.
Leave a Comment