
⚡ Quick Jump (what I'd read first)
I still remember my first attempt at butterflying a chicken. Let's just say the bird looked more like it had lost a fight with a lawnmower. But after butchering (literally) dozens of chickens over the years, I've nailed down a method that takes under 5 minutes and leaves you with a perfectly flat bird ready for grilling, roasting, or smoking. This guide is everything I wish someone had told me earlier — no fluff, just the stuff that works.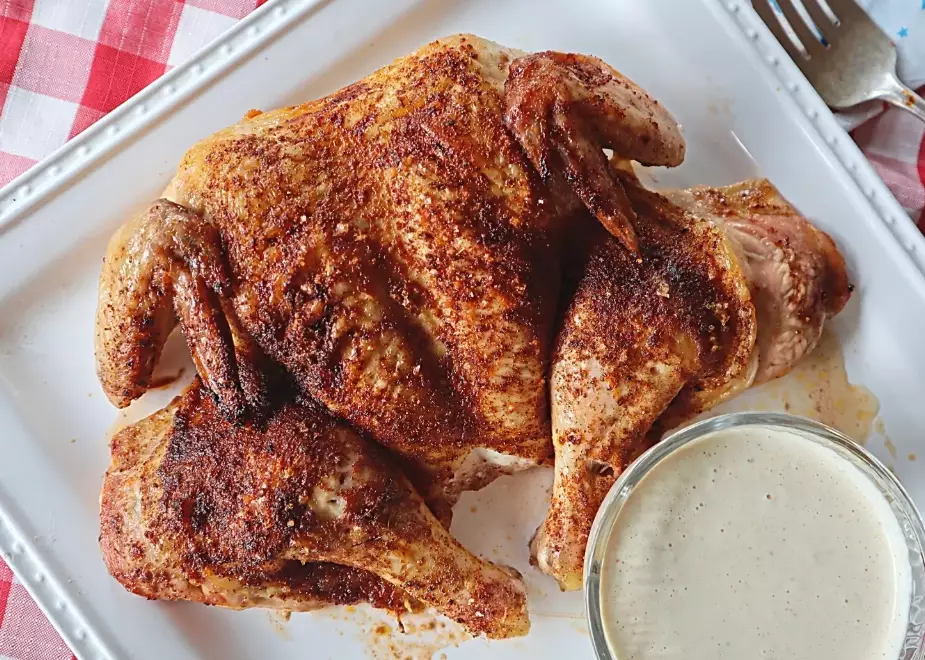
What Is Butterflying a Chicken (And Why Bother)?
Butterflying — also called spatchcocking — means removing the backbone and flattening the chicken so it lies evenly. The breastbone stays intact, but the bird cooks faster and more evenly because there's no hollow cavity. I started doing this because whole roasted chicken always had dry breasts and undercooked thighs. Butterflying fixed that in one move.
Why bother? Even cooking, faster cook time (about 25% less), crispy skin all over, and easier carving. It's a game-changer for weeknight dinners. According to the USDA Food Safety and Inspection Service, poultry should reach 165°F internally — butterflying helps you hit that uniformly without burning the outside.
Tools You Actually Need (Don't Skip This)
You don't need a fancy butcher's block. But a few things make life easier:
- Kitchen shears (poultry shears): I use a $15 pair from a restaurant supply store. They cut through ribs like butter. Don't use your grandma's fabric scissors.
- Chef's knife or boning knife: For scoring and trimming. A sharp knife is safer than a dull one.
- Cutting board with a damp towel under it: Prevent slipping. I learned that after a near-miss with my pinky.
- Paper towels: Dry skin is key for crispy results. Pat the bird thoroughly.
Skip the meat mallet — you won't need it. And don't bother with a cleaver unless you're doing heavy-duty work.
How to Butterfly a Chicken: Step-by-Step
Here's the exact sequence I follow. It takes about 3–4 minutes once you get the hang of it.
Step 1: Place the chicken breast-side down
Pat it dry. Locate the backbone — it runs along the center of the back. You'll feel the bumps of the spine.
Step 2: Cut along both sides of the backbone
Using poultry shears, cut from the tail end up to the neck on one side of the spine, then repeat on the other side. You'll hear a crunch as you cut through ribs. That's normal. Save the backbone for stock — it's gold.
Step 3: Flip and flatten
Open the chicken like a book. Place it skin-side up. Press down firmly on the breastbone with the heel of your hand until you hear a pop. That's the keel bone breaking — it won't affect the meat. If it resists, use a rolling pin to pound it flat.
Step 4: Tuck the wings and trim excess
Fold the wing tips behind the breast to prevent burning. Trim any loose fat or skin around the edges. Now it's ready for seasoning or cooking.
Pro tip from my butcher friend: Chill the chicken in the freezer for 15 minutes before cutting. It firms up the meat and makes the backbone easier to remove. I've been doing this for years and it's a subtle game-changer.
3 Mistakes I Made So You Don't Have To
These are the ones that cost me time (and a few Band-Aids).
- Using dull shears: They slip and tear the meat. Sharpen or replace them.
- Cutting too close to the breast meat: You'll lose juice and end up with a dry bird. Stay close to the spine.
- Forgetting to dry the skin: Wet skin steams instead of crisps. Pat it down with paper towels — seriously, do it.
One more thing: don't rinse the chicken under tap water. The FDA warns that splashing water spreads bacteria around your kitchen. Pat dry instead.
Cooking After Butterflying: Quick Temps & Times
Once you've mastered how to butterfly a chicken, you'll want to cook it right. Here's a cheat sheet I keep on my fridge.
| Method | Temperature | Time (approx.) | Internal temp |
|---|---|---|---|
| Roasting (oven) | 425°F | 35–45 min | 165°F in thigh |
| Grilling (indirect) | Medium-high | 30–40 min | 165°F in thigh |
| Smoking | 225–250°F | 2–2.5 hours | 165°F in thigh |
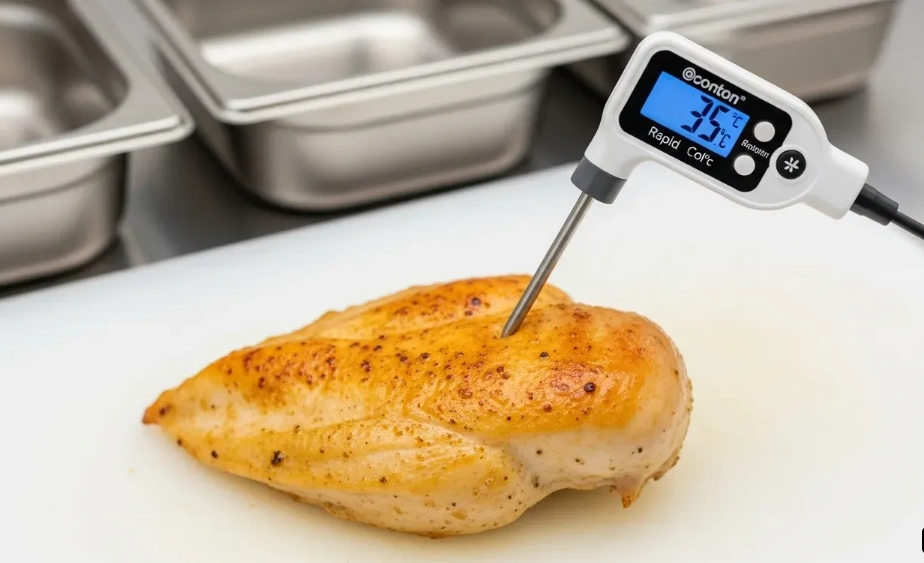
Always use a meat thermometer. The pop-up timer is unreliable. I use an instant-read thermometer and check the thickest part of the thigh, avoiding bone.
Straight Answers to Real Questions
Can I butterfly a chicken without removing the backbone?
You can, but it's not true butterflying. Some recipes call for just cracking the breastbone and flattening, but you'll still have the backbone, which slows cooking. For even results, remove it. I tried the shortcut once — the chicken cooked unevenly and the back was still raw near the bone.
What's the best way to store a butterflied chicken before cooking?
Keep it uncovered in the fridge for up to 24 hours on a rack over a tray. This dries the skin and improves texture. If you cover it tightly, condensation forms and you lose crispness. I learned that from a chef at a local cooking class.
Do I need to brine or marinate after butterflying?
Not necessary, but a dry brine (salt only) for 4–12 hours makes a noticeable difference. Skip wet marinades — they add moisture that steams the skin. I dry-brine mine with 1 teaspoon of kosher salt per pound and let it sit in the fridge.
Can I butterfly a turkey the same way?
Yes, but you'll need heavier shears or a knife. A 12-pound turkey takes about 8–10 minutes. The technique is identical — just more force. I've done it for Thanksgiving three years running.
Butterflying a chicken isn't rocket science, but the details matter. Once you get the backbone removal down, you'll wonder why you ever cooked whole chickens the old way. Give it a shot — and don't stress if your first bird looks a little rough. Mine sure did.

Leave a Comment